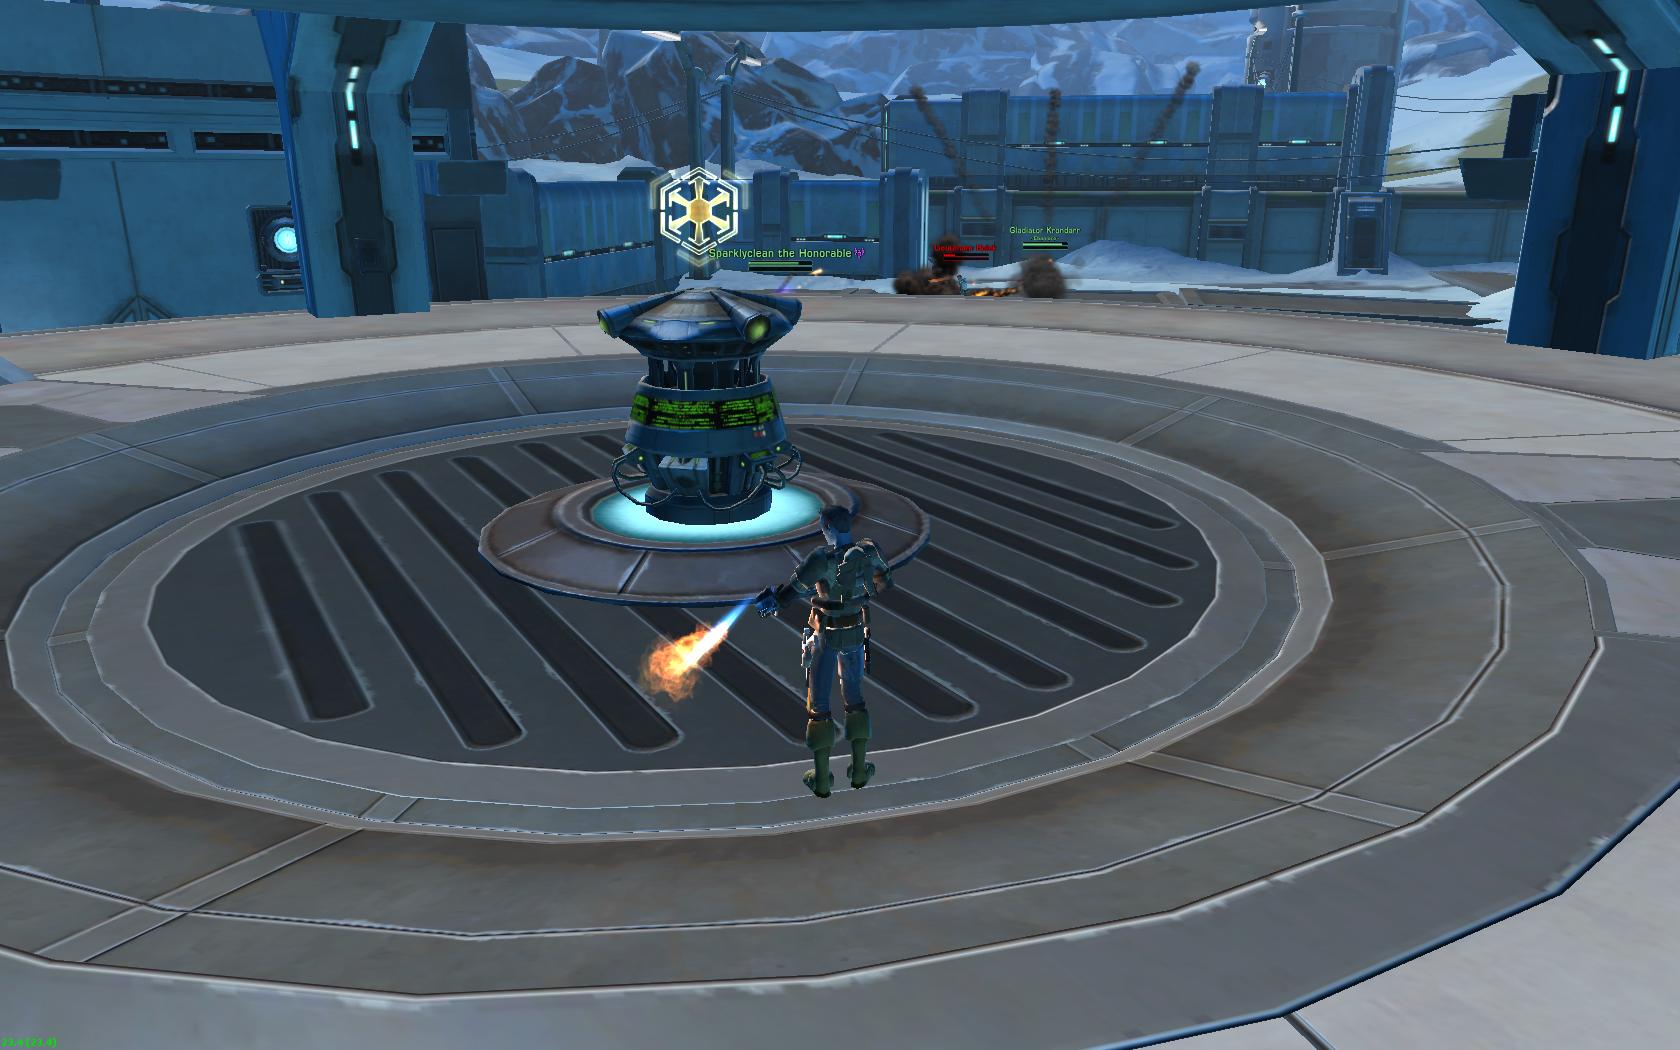
 Bounty Hunters aren’t exactly known as one of the most played classes in Star Wars: The Old Republic. One reason being, they’re not as easy to play as some other classes are. That’s why having a newbies guide to help beginners figure out things in this game is helpful, and Torwars made sure to publish it. You can read the full Bounty Hunter newbies guide below.
Contents:
- Advanced Classes
- Companions
- Species & Appearance
- Leveling
- Stats & Equipment
- Crew Skills
- Heat System
- Skill Rotation & Combat
The Bounty Hunter brings a lot to the table, and has the opportunity to play any three of the major class roles; they can Tank, Heal, and DPS (the ‘Trinity’). Being able to fill all three vital spots of the Trinity leaves a lot of choice for your character, as if you do decide to roll a Bounty Hunter you will have some freedom before you decide your Advanced Class and which direction you’ll take.
Advanced Classes
 As with all classes in SWTOR, at level 10 you will have to select your Advanced Class. The Bounty Hunter can choose from the Powertech which favors Tanking and DPS or the Mercenary which specializes in Healing and DPS.
Each AC has two unique Talent Trees, different specializations, and different ‘Cylinders’. You can only have one Cylinder activate at a time, and each provides different “buffs” for your character – They basically function like ‘stances’ in other MMOs. Each Advanced Class gains two unique Cylinders along with corresponding Talents to enhance them. Both ACs gain access to Combustible Gas Cylinder at level 4, which has a chance to add a damage-over-time effect to enemy targets with each attack.
The Powertech gains access to Ion Gas Cylinder which increases damage and threat-generation against enemies while also lowering total damage taken, providing increased Armor, and increases shield generation chance – this is mostly for Tanking. The other unique Cylinder for Powertechs is High Energy Gas, which increases all elemental damage dealt, this Cylinder would be used mostly for DPS.
Mercenaries gain access to High Velocity Gas, increasing Armor Penetration for more DPS and also Combat Support Cylinder which increases all damage & healing output, and allows you to shoot your allies in the face to apply some minor healing. It does take a little getting used to your Rapid Shots healing allies while Combat Support Cylinder is activated, but it is handy indeed.
Companions
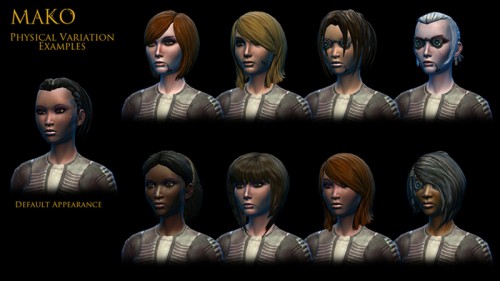
Companions are also an important part of picking any character in SWTOR, and the first companion your Bounty Hunter gets is Mako, a pretty little lady who will heal up your wounds and follow you around with the utmost vigor.
(**Slight Spoiler Note: She tends to enjoy ‘good’ choices, although she loves her credits – so some Dark-side choices she will surprisingly agree with, but in general she tends to disagree with very evil moral choices)
Mako is the first legit Healing Companion that any of the classes get in SWTOR, which is also an added perk. If you decide to go Powertech or DPS Mercenary Spec then Mako will be a very handy addition to your adventuring.
The combination of any class role with a nice healing Companion pretty early in the game makes the Bounty Hunter a fine choice for the indecisive and Newbie MMO player. The combination of the Cylinder system with exciting abilities revolving around explosions, fire, and missiles lend itself to an aesthetically exciting character that also proves to be very versatile. Even once you pick your Advanced Class option, you’re still left with either Tanking/DPS (Powertech) or Healing/DPS (Mercenary) – a nice combo of options.
Species & Appearance
The Bounty Hunter can be played by five of the playable species in SWTOR; Humans, Zabraks, Rattataki, Chiss, and Cyborgs. Ultimately, species and appearance have no effect on your character, but it adds plenty of flavor and each race has its own unique emote which also adds some distinction. Feel free to play around with each, and make sure to choose something that you enjoy and makes you feel like a Bounty Hunter who’s ready to conquer the galaxy.
In terms of the Racial Emotes, my personal favorite for the BH is probably the Cyborg’s ‘Scan’ emote, as it adds some nice Bounty Hunter-eqse flair to your character.
Leveling
Starting off as a Bounty Hunter will land you on Hutta, which is a planet rife with plenty of greed and immoral activity for any up and coming Bounty Hunter. Your quest is to become a contestant in the ‘Great Hunt’, which is pretty much the Superbowl for Bounty Hunters. You’re competing, in usually not a nice way, against various other Bounty Hunters and attempting to win the favor of a Hutt who can make your dreams come true.
While on Hutta you’ll naturally deal with Hutts, but also the Empire, find your first Companion and complete plenty of mayhem for filthy credits. It’s also important to take a break from ruthless Bounty Hunting and remember to pick up the Datacrons on Hutta as well for some permanent stat increases. As far as I’ve been able to discover, there are 3 available Datacrons on Hutta, one for a bonus to Aim, one for Presence, and a Blue Matrix Shard.
Leveling up for the Bounty Hunter was for the most part, a piece of cake. Once you pick-up Mako and have a Healing Companion – you’re able to tackle many of the more difficult tasks, quests, and even Heroic Two-mans become pretty manageable.
The important thing to remember in SWTOR is to follow your main class story line. It will present you with everything you need, for the most part. Following the quest will you lead on the path to get your Companion, join the Great Hunt, “acquire” a ship (which is an awesome quest-line, mind you), and get you to the hub where you’ll be able to select your Advanced Class.
Stats & Equipment
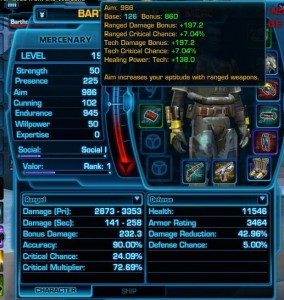 As with all the classes, Bounty Hunters have a Primary Stat which functions as the definitive, most useful stat for them. Aim is the key stat for Bounty Hunters, as it adds damage to Tech skills (yellow damage), standard range damage (white damage), and Healing Tech skills (green). It also increases the Critical Strike chance on these types of abilities as well. Endurance is the second primary stat for most BH gear, increasing hit points and health regeneration.
There are plenty of other secondary stats that will become important to your Bounty Hunter later on, such as Accuracy, Alacrity, Expertise and the like; with stats like Willpower and Strength being much less important, to almost useless for a Bounty Hunter. Accuracy will be an important secondary stat for Hunters, as much of the time they will be attacking from Range – so making sure you hit is of added benefit.
Bounty Hunters also seem to be reliant on Critical Strikes, so secondary stats boosting Crit Chance and Crit Damage will be important as well. But for the most part in early game you’ll find yourself focusing on Aim and Endurance. Also, once you get upgraded to Heavy Armor when you select your AC, don’t forget to swap out/upgrade your Medium Armor gear for the better, Heavy Armor.
Crew Skills
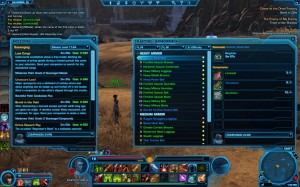 If you’re a big crafting fan, you’ll want to pick up your Crew Skills or Trade Skills as soon as possible and the best opportunity is probably once you reach the Imperial Fleet at around level 10. There are plenty of good crafting options for the Bounty Hunter. The two main skills that stick out are Armortech and Armstech in terms of gear construction, depending on whether or not you want to be able to craft Armor or Weaponry for your character.
The Bounty Hunter uses various guns & assorted weaponry and Medium/Heavy Armor, So Armortech & Armstech are the natural selection if you’re interested in crafting some of your own gear.
If crafting equipment isn’t your thing, then Biochem or Cybertech may be good alternatives to those skills, as having extra ‘Consumables’ on hand or crafting gear for Droids can always come in handy if you’re a big fan of the non-Organic. Depending on what crafting skills you’ve selected, you’ll most likely want to choose the complimenting ‘gathering’ Crew Skill so you will be able to provide yourself with your own materials and save your precious credits.
Below is a list of the suggest pairings of gathering skills and mission skills with the listed crafting skills above.
- Armortech – Scavenging (Gathering), Investigation (Mission Skill), Underworld Trading (Mission Skill)
- Armstech – Scavenging, Investigation, Underworld Trading, Treasure Hunting (Mission Skill)
- Biochem – Bioanalysis (Gathering), Underworld Trading
- Cybertech – Scavenging, Slicing (Gathering), Treasure Hunting, Underworld Trading
With Crew Skills in mind, remember to keep an eye on your wallet – as each mission you send your Companion out on will cost you credits. While leveling up and needing to save for a mount and pay for skills, keeping tabs on your Galactic checkbook is always helpful.
Heat System
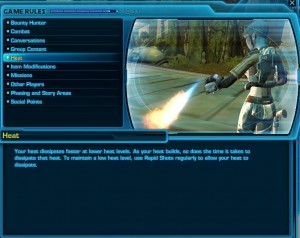 Your Bounty Hunter uses the Heat System to execute abilities, starting off with zero Heat and slowly building Heat as you continue to use abilities, with each ability having a ‘Heat Requirement’ or Cost to use. Some abilities, like Rapid Shots (your main attack ability), do not build Heat and it will be important to use abilities that don’t build Heat inbetween the use of Heat-building skills, as to give your Heat System time to cool down.
The Heat System works on a scale of 0-100 and the system is not ‘static’ in its depletion after you’ve built heat; so the less Heat that you have, the faster your Heat will dissipate. You can see your current ‘Dissipation Rate’ to the right of your Heat Bar in-game, represented as small arrows; the more arrows you have, the faster your Heat will dissipate. With this mechanic of Heat dissipating faster the less Heat you have built up, it’s in your Bounty Hunter’s best interests to attempt ‘Heat Management’ (or keeping your Heat at a lower level) so it can continue to deplete at the accelerated rate. There will, of course, be occasions where you’re forced to build up large amounts of Heat quickly, but keep in mind that your Heat bar will not ‘cool down’ as fast as it would if your Heat was only 1/3rd full.
You also have abilities in your arsenal to either lower your current Heat level, or not build any at all. Vent Heat is a prime example of one way to get rid of some of that nasty built up Heat, by venting out 50 Heat over three seconds, although it is on a two minute cooldown so be wary with its usage.
The quicker degradation of Heat when your Heat level is lower is an interesting mechanic, as if you are able to manage your Heat well – you could, in theory, stay at a consistent level and keep using your relevant abilities. As a general rule, I attempt to keep my Heat below 25% or 50% to keep the dissipation rate quick. So, when jumping into your Bounty Hunter, learning Heat Management will be key for future encounters as you continue to level up.
Skill Rotation & Combat
In your early days as a Bounty Hunter you’ll be limited in your abilities, but that doesn’t mean you aren’t efficient at blowing things up. As you level up and continue your adventures, your skill rotation will depend more & more heavily upon your Advanced Class, its Class Roles and Talent Specs.
When dealing with groups of bigger enemies; start off with a Power Shot, Mako missile, Death from Above, or Explosive Dart. Proceed with Rapid Shots, Rail Shot, or Regular fire. Attempt to keep Heat low. If enemies close distance, Rocket Punch + Flamethrower or Vice Versa (with Rocket Punch as a finisher) is a good combination.
One very effective combination for groups, up until at least level 20 (as a Mercenary specifically,) was opening up with Kolto Missile, followed by Death From Above. This combo pretty much eliminated most groups, perhaps needing to throw down a little extra blaster fire at most.
For single-enemies or Rare/Elite enemies; I found starting off with Power Shot, Explosive Dart, and Unload was an effective combo to really start the damage; at that point if Rail Shot is triggered, use it – it’s always a nice boon to add some instant damage.
Overall, Combat with the Bounty Hunter is extremely fun, engaging, and if you’re into pyrotechnics – the BH is your pick.
Conclusion
That’s about it for now. Hopefully you enjoyed this introductory guide to the Bounty Hunter class in SWTOR. Stay tuned for further looks into the intricacies of the Bounty Hunter and other SWTOR-related elements!
